

Actually, recently in a fit of spring cleaning, I did part with quite a few issues. I kept only the ones that with lots of recipes I want to make, or had really pretty pictures... Yes I know I can look up old recipes online, but it's way more fun to grab a cold drink and flip through a stack of magazines. Thank goodness I still had my Jun/July 2008 issue, because it was chock full of great blueberry recipes. I remembered there were several recipes in that issue that I wanted to make. I had dogeared the page to this recipe a long time ago and I decided now was the time to put that hoarded issue to good use!

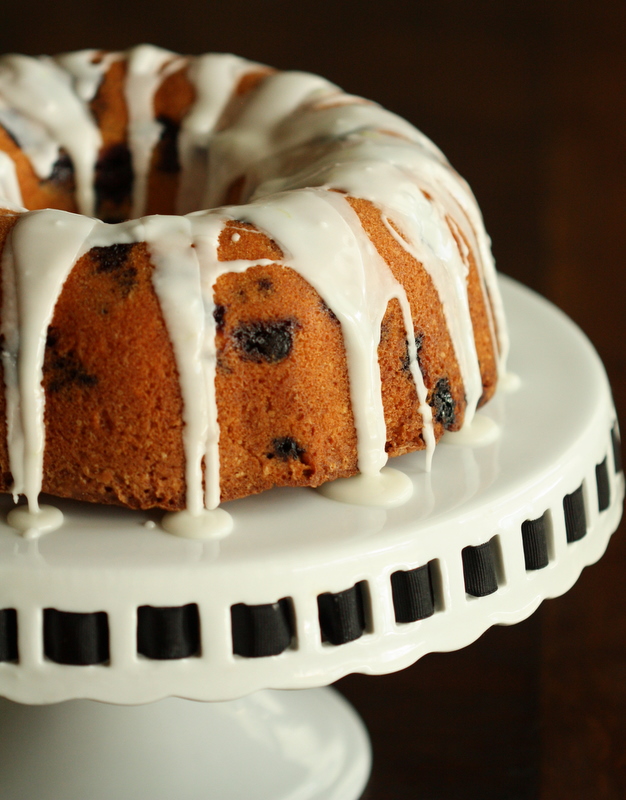
Blueberry Lime Pound Cake
Source: Fine Cooking: (adapted)
Printable Recipe
Ingredients:
For the cake:
1 cup unsalted butter, at room temperature
2-1/3 cups all-purpose flour
1-1/2 tsp. baking power
scant 1/2 teaspoon salt
1-3/4 cups granulated sugar
2 tsp. finely grated lime zest
*6 oz. mascarpone or cream cheese, softened
4 large eggs plus 1 large egg yolk, at room temperature
1 pint blueberries, room temperature, not cold from the refrigerator
For the glaze:
4 oz. (1 cup) confectioners’ sugar
2 Tbs. fresh lime juice; more as needed
1/2 tsp. lime zest

*Note: I used mascarpone because I had it and didn't have any cream cheese on hand. It was delicious in this cake!
Method:
Position a rack in the center of the oven and heat the oven to 350°F. Butter and flour a 12-cup Bundt pan.
Make the cake: Sift the flour, baking powder, and salt into a medium bowl. Stir the lime zest into the sifted flour mixture.
With a stand mixer fitted with the paddle attachment or a hand mixer, beat the butter and mascarpone or cream cheese in a large bowl on medium speed until smooth, about 1 minute. Add the sugar mixture and beat on medium until light and fluffy, 1 to 2 minutes. With the mixer still running, add the whole eggs one at a time, mixing well after each addition and stopping the mixer to scrape the bowl twice. Beat in the egg yolk. Reduce the mixer speed to low and slowly add the flour mixture. Stop the mixer one last time to scrape the bowl and then beat at medium speed until the batter is smooth and light, about 20 seconds. With a rubber spatula, gently fold the blueberries into the batter.
Pour the batter into the bundt pan, spreading it evenly with the spatula. Lightly tap the pan against the counter to eliminate any air pockets. Bake until a wooden skewer inserted in the center comes out clean, 50 to 55 minutes. Set the pan on a wire rack to cool for 10 minutes and then invert onto the rack, remove the pan, and let cool completely.

Glaze the cake: In a small bowl, whisk the confectioners’ sugar, lime zest, and lime juice together until smooth. The glaze should be thin enough to pour. If not, add more lime juice, 1 tsp. at a time. Put a baking sheet under the rack to catch drips and drizzle the glaze over the top and sides of the cake. Let the glaze set before transferring to a cake plate.
 |
| Or you can add the glaze right on the cake plate, like I did! |
Other blueberry recipes you might like:
Low Fat Blueberry Oat Loaf Cake
Fresh Blueberry Pie
Orange Blueberry Muffins
Blueberry Ice Cream
Blueberry Barbecue Sauce


